Last updated 16 / Apr / 2026
Introduction
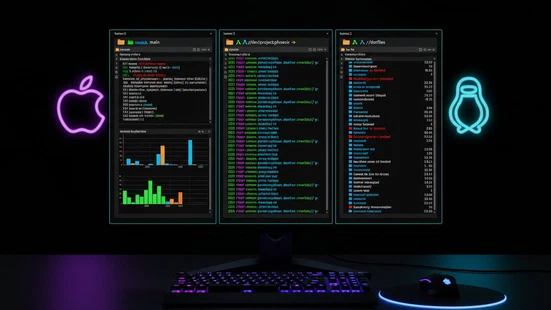
A well-configured terminal is one of the most worthwhile investments you can make as a developer. This is the setup I use for my work in programming, data science, machine learning, and artificial intelligence, on both macOS and Ubuntu/Linux.
1. Terminal: Ghostty
Ghostty is a fast, feature-rich, and cross-platform terminal emulator that uses platform-native UI and GPU acceleration. It was created by Mitchell Hashimoto, co-founder of HashiCorp.
What I love most about Ghostty is that it combines native performance with a modern experience: instant startup, crisp text rendering, and native support on both macOS and Linux without sacrificing any functionality.
Installation on MAC:
brew install --cask ghostty
Installation on Linux (Ubuntu):
sudo apt install ghostty
If it’s not available in your distribution’s repositories, check the official installation guide.
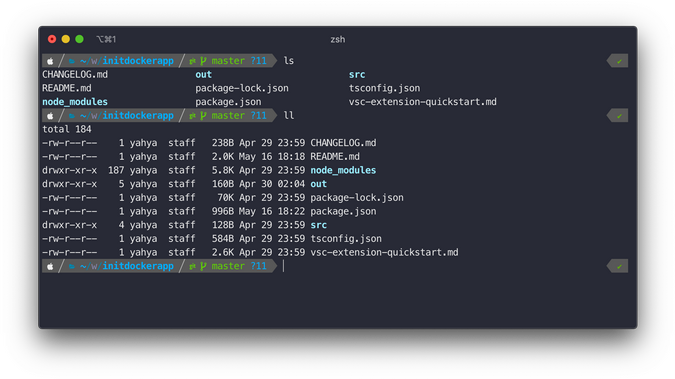
2. Shell: Zsh + Oh My Zsh
Install Zsh on Linux (Ubuntu)
On macOS, Zsh comes installed by default. On Ubuntu:
sudo apt update && sudo apt install zsh -y
chsh -s $(which zsh)
Log out and back in for the shell change to take effect.
Install Oh My Zsh
Oh My Zsh is a framework for managing your Zsh configuration that adds themes, plugins, and advanced autocompletion.
sh -c "$(curl -fsSL https://raw.githubusercontent.com/ohmyzsh/ohmyzsh/master/tools/install.sh)"
Plugins
Plugins are activated by adding them to the plugins=(...) line in ~/.zshrc.
git
The git plugin comes bundled with Oh My Zsh and adds dozens of useful Git aliases, for example:
gst→git statusgco→git checkoutglog→git log --oneline --graph- etc.
A must-have for working with Git from the terminal.
zsh-autosuggestions
Suggests commands as you type, based on your history. When the grey suggestion appears, press → to accept it.
git clone https://github.com/zsh-users/zsh-autosuggestions \
  ${ZSH_CUSTOM:-~/.oh-my-zsh/custom}/plugins/zsh-autosuggestions
zsh-syntax-highlighting
Highlights commands in real time: green if the command exists, red if it doesn’t. Catches typos before you execute.
git clone https://github.com/zsh-users/zsh-syntax-highlighting \
  ${ZSH_CUSTOM:-~/.oh-my-zsh/custom}/plugins/zsh-syntax-highlighting
zsh-history-substring-search
Lets you search your history by typing part of a command and using ↑ / ↓ to navigate through matching results.
git clone https://github.com/zsh-users/zsh-history-substring-search \
  ${ZSH_CUSTOM:-~/.oh-my-zsh/custom}/plugins/zsh-history-substring-search
Enable all plugins in ~/.zshrc:
plugins=(git zsh-autosuggestions zsh-syntax-highlighting zsh-history-substring-search)
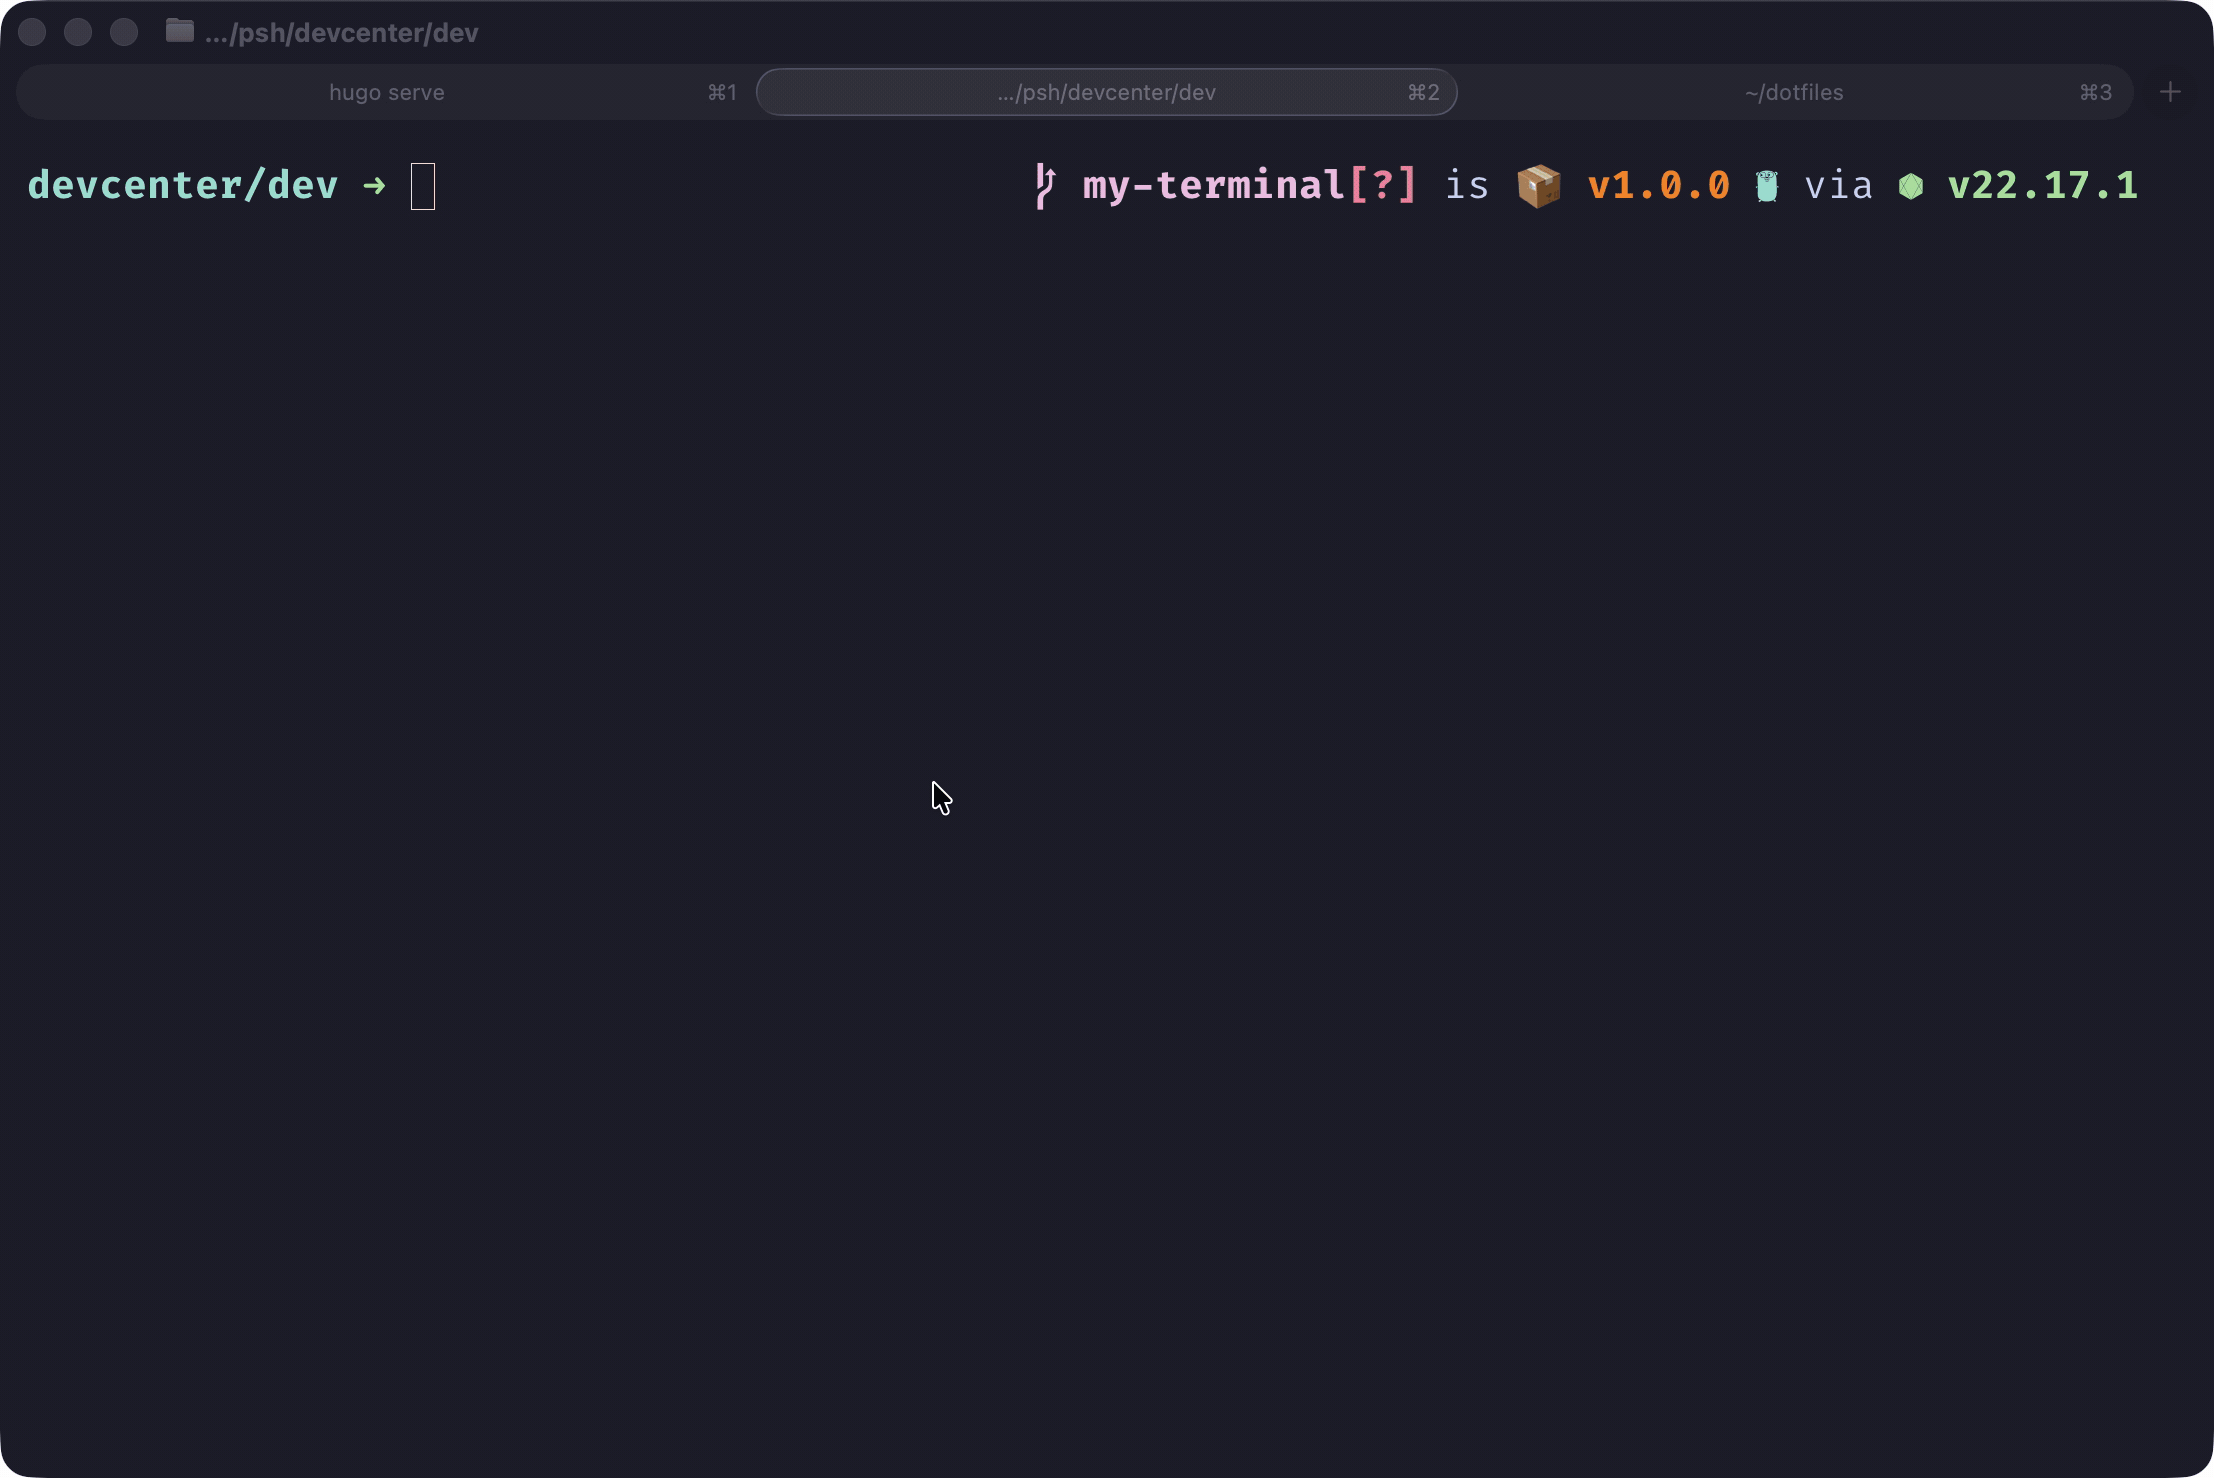
Theme: Powerlevel10k
Powerlevel10k is the most complete and fastest theme for Zsh. It shows contextual information in the prompt: Git branch, repo status, Python version, last command execution time, battery level, and much more — all fully customizable.
Installation:
git clone --depth=1 https://github.com/romkatv/powerlevel10k.git \
  ${ZSH_CUSTOM:-$HOME/.oh-my-zsh/custom}/themes/powerlevel10k
Enable in ~/.zshrc:
ZSH_THEME="powerlevel10k/powerlevel10k"
When you open a new terminal, the interactive configuration wizard runs automatically. To run it again at any time:
p10k configure
3. Terminal Tools
gh — GitHub CLI
gh brings GitHub to the command line. Create and review pull requests, manage issues, clone repositories, and run GitHub Actions workflows — all without leaving the terminal.
Installation on MAC
brew install gh
Installation on Linux (Ubuntu)
sudo apt install gh
Authenticate with GitHub:
gh auth login
lazygit — Git TUI
lazygit is a terminal UI for Git. It lets you view repo status, make commits, manage branches, resolve conflicts, and explore history visually and intuitively — no need to memorize every Git command.
Installation on MAC
brew install lazygit
Installation on Linux (Ubuntu)
LAZYGIT_VERSION=$(curl -s "https://api.github.com/repos/jesseduffield/lazygit/releases/latest" | grep '"tag_name":' | sed -E 's/.*"v*([^"]+)".*/\1/')
curl -Lo lazygit.tar.gz "https://github.com/jesseduffield/lazygit/releases/download/v${LAZYGIT_VERSION}/lazygit_${LAZYGIT_VERSION}_Linux_x86_64.tar.gz"
tar xf lazygit.tar.gz lazygit
sudo install lazygit -D -t /usr/local/bin/

yazi — File Manager TUI
yazi is a modern terminal file manager written in Rust. It lets you navigate the filesystem with instant previews of images, text, PDFs, and more, using intuitive Vim-style keybindings.
Installation on MAC
brew install yazi
Installation on Linux (Ubuntu)
sudo apt install yazi

eza — ls (List files and directories)
The default ls command is fine, but eza is better in every way. It’s a modern replacement with colors, icons, and Git status integration.
Installation on MAC
brew install eza
Add to the end of ~/.zshrc to replace ls with eza:
if command -v eza &> /dev/null; then
  alias ls='eza -lh --group-directories-first --icons=auto'
  alias lsa='ls -a'
  alias lt='eza --tree --level=2 --long --icons --git'
  alias lta='lt -a'
fi
Installation on Linux (Ubuntu)
sudo apt install eza
fzf — Fuzzy find everything
fzf is a general-purpose fuzzy finder. Once you start using it, you’ll wonder how you ever lived without it. It lets you interactively filter any list: files, command history, processes, Git branches — you name it.
Installation on MAC
brew install fzf
# Install shell integrations (history, ctrl+r, etc.)
$(brew --prefix)/opt/fzf/install
Installation on Linux (Ubuntu)
sudo apt install fzf
After installing, Ctrl+R in the terminal activates fuzzy search through your command history.
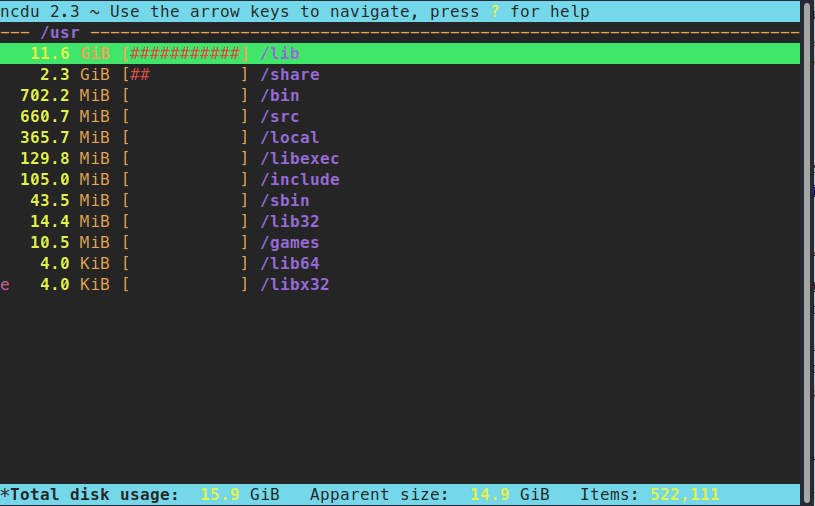
ncdu — Disk usage visualizer
ncdu (NCurses Disk Usage) provides a visual representation of disk usage and lets you navigate directories to identify what’s taking up the most space, quickly and interactively from the terminal.
Installation on MAC
brew install ncdu
Installation on Linux (Ubuntu)
sudo apt install ncdu
Run it in any directory you want to analyze:
ncdu
4. Aliases
Aliases go at the end of ~/.zshrc. After editing the file, run source ~/.zshrc to apply the changes.
Python and virtual environments
alias ve='source .venv/bin/activate'
alias deac='deactivate'
alias wp='which python'
alias pv='python -V'
Terminal tools
alias vs='code .'
alias lg='lazygit'
alias cl='clear'
alias ccc='claude --model opusplan'
alias cop='claude --model opus'